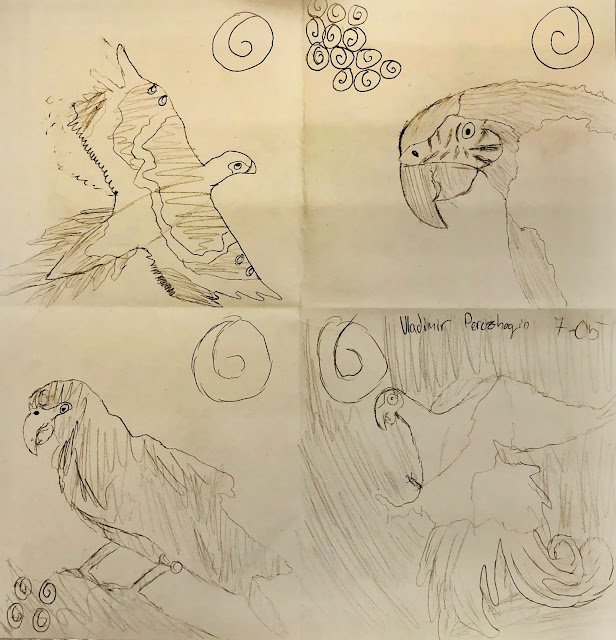
Finish 2-4 Sketches or book a WIN block
Off-center
Crop out
Rotation
Trace the drawing twice on a lightbox
Covering page Title: Koru Linocut Printmaking
Subtitle: First name and Last name initial
Slide 1: About my Koru Linocut Printmaking
Slide 3: Critique
A. What was good?
B. How could I improve?
Answer this question based on the following aspects.
Slide 4:Conclusion
A. What are the new things/feelings I discovered about myself through this project?
B. Have I tried my best effort to create a positive learning environment for everyone in this classroom?
- Zoom in
- Large size
- Interesting composition
Off-center
Crop out
Rotation
Select the best composition to add more details
Clear thick line
5 Textures
No overlapping
Finish the positive and negative pictures or book a WIN Trace the drawing twice on a lightbox
Create two positive and negative space picture with sharpies
Black- hold ink
White - cut out
Transferring the final sketch to Lino block
1. Choose one of the two for the final artwork. Use tracing paper to trace your composition in pencil.
1. Choose one of the two for the final artwork. Use tracing paper to trace your composition in pencil.
8. Place the tracing paper face down on the rubber plate.
9. Tape the tracing paper down so it won't move when tracing.
10. Use the end of a sharpie/ finger to rub the graphite onto the plate ( so the design will be transferred)
11. Sharpie the drawing on the linocut. Your print will print the correct way on paper.
Carving: Remove all the sections of the block that are NOT colored with sharpie
1. Test out the carving tools on a scrap piece of line cut. Push carving tool away from you
2. Carving out design. Remember, what is carving out will not show the ink.
2. Carving out design. Remember, what is carving out will not show the ink.
Covering page Title: Koru Linocut Printmaking
Subtitle: First name and Last name initial
Slide 1: About my Koru Linocut Printmaking
- Title
- Big idea
- One best Final print
- 2-4 Sketches
- Black and White picture( positive and negative picture)
- Linocut plate
- Final Prints- 3 solid colors + one gradient color
Slide 3: Critique
A. What was good?
B. How could I improve?
Answer this question based on the following aspects.
- Drawing with positive and negative space
- Linocut texture craftmanship
- Printing quality
Slide 4:Conclusion
A. What are the new things/feelings I discovered about myself through this project?
B. Have I tried my best effort to create a positive learning environment for everyone in this classroom?


